How To Coach: Pitching #3

Hard
How to Coach: Pitching #3 is the third lesson in Dugout Captain’s series designed to teach pitching. The focus on this segment is on Position #2 / POWER. Reminder that DC’s coaching plan begins with Balance (Position #1), moves to Finish (Position #3) and then returns to Power (Position #2). The logic is that the athletes add “fuel to the fire” only when strong and balanced endpoints are established early (#1)… and late (#3). This lesson should result in a more physical delivery resulting in greater velocity. The goal is to engage the legs and teach the athlete to feel the body working.
*Coaching Note* – Celebrate the challenge! Everything is going to get harder now that there is more energy / force / power coming down the hill. This is to be celebrated. It’s HARD… to throw HARD!!!
EXECUTION – Follow these teaching segments and make reference to notes and coaching verbals:
- Live – Get ‘hot’ by throwing several fastballs at full speed with limited thought. When ready, move into freeze drills.
- Review / Position #1 – On your verbal “up”, the athlete is to take a leg lift and freeze at the leg lift. Look for the knee up, foot out, and toe down position. Posture tall and showing good balance. When ready, flip the glove up so that the pocket faces the athlete. This means you (as catcher) are ready and the pitcher may fire! As few as three fastballs, as many as required.
- Review / Position #1 & #3 – Continue to freeze at the balance point (#1) and add a freeze at the finish position (#3). Look specifically for the lead leg to firm up and control the athlete’s body weight. A proper finish position involves four keywords (right-handed pitcher): Point (left leg), Click (right leg), Shield (glove), Sword (throwing arm). As this is review, the athlete must prove ready to accept more instruction by demonstrating BOTH a solid leg lift and a fundamentally sound finish position. As few as three fastballs, as many as needed to feel comfortable that the athlete is ready for more instruction.
- Freeze @ #2 – Add rules to Position #2, the “Power Position”. Leg lift up, then stride and load while keeping the weight back. There are four rules to position #2:
- Glove Arm – High and extended (gentle bend in elbow)
- Throwing Arm – Hand high and away (ball points to 2nd base / “ball to wall”)
- Front Foot – Closed (side of shoe to home plate) and up on toe
- Weight back!! – Loaded power into the back leg (feel the burn!!)
5. No Stopping – Make aggressive pitches in an effort to apply instruction to a full delivery. Use the concept of loading first, before exploding.
DC KEYS
- Load – Probably the word I’ve said the most in my career as a pitching coach / instructor. True goal is to build power and take control of the pitching motion. I believe this is accomplished during the movement LEAVING the balance point (movement between #1 and #2).
- Rock Back and Fire – When moving from the frozen position #2, rock back to generate some momentum and rhythm. While we don’t want to throw from a stopped position, we also don’t want to give up the “loaded” power position of the back leg.
- Load… then Explode – It’s okay to exaggerate the feeling of loading into the back leg. After reviewing rules to #2 and moving into No Stopping, challenge the athlete to feel a clear and distinct load before exploding forward towards home plate.
- Distance & Direction – Objective way to see if athlete is being explosive is stride length – now called “distance.” Direction will also be coming during Session #4. For now, focus on adjusting to a proper finish position wherever they are… we’ll get to Distance & Direction during session #4

EXECUTION KEYS
- GET LOOSE ("HOT")
- REVIEW = POSITIONS #1 & #3
- FREEZE @ #2
- NO STOPPING - APPLY IT!
DC KEYS
- LOAD
- ROCK BACK & FIRE
- LOAD... THEN EXPLODE
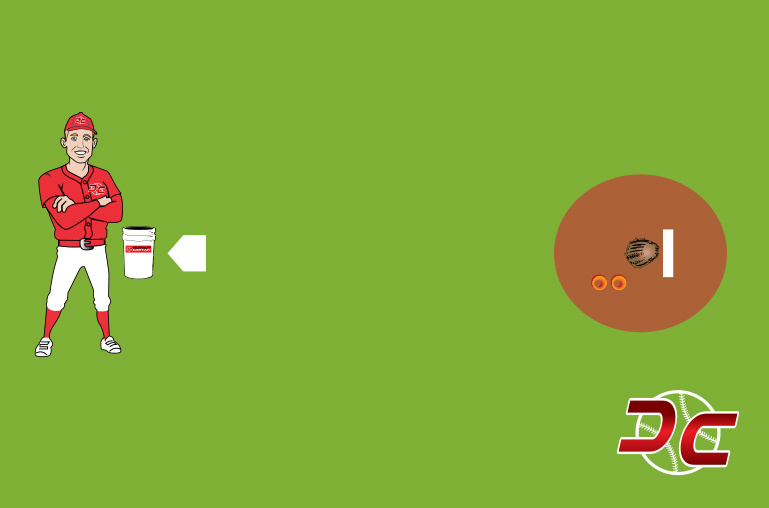
EQUIPMENT LIST
 Baseball Buckets1
 Home Plate1
 Pitching Rubbers1
 BookPurchase