Fundamentals: Sliding

Medium
Fundamentals of Sliding is a drill designed to introduce athletes to the proper way to execute a feet-first slide. Safety is paramount to sliding and thus it must be taught. Too many times, we as coaches take sliding for granted. Most of the time it’s not a problem, but you don’t want to be that coach dealing with a split open knee or twisted ankle. So let’s teach first so we can use sliding in any other drill or practice scrimmage down the road.
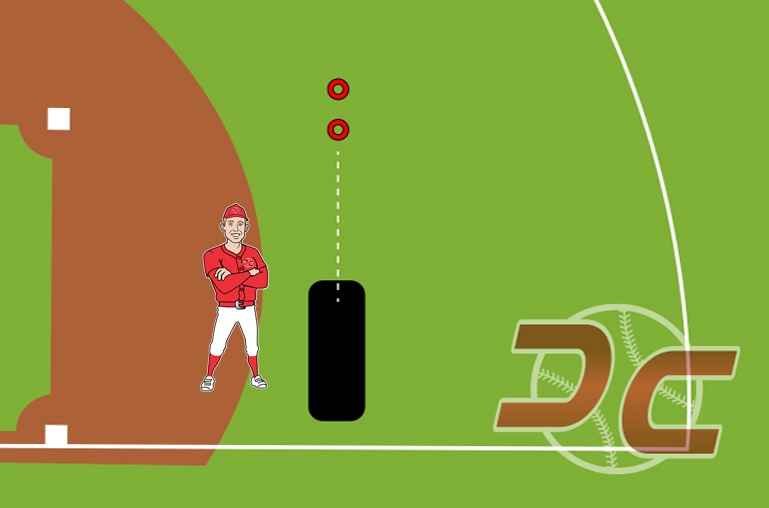
EXECUTION – Teaching sliding can happen on any safe and soft patch of grass. For this video, we brought with us the luxury of a sliding mat… because we could!! Consider running this drill on a rainy day, or in a spot where you can wet down the grass. Teaching sliding requires only a throw-down base and a couple cones. Begin the drill with athletes in the learning position between this station’s side-to-side cones. Teach and review the slide fundamentals prior to sliding reps:
- Figure 4 – Foot tucks, laces to back of opposite knee. Both arms in the air.
- Get Air – Take a low jump to allow your inner “transformer” time to maneuver (leg to back of opposite leg and arms up).
- Lean Back – Get the body on the butt… rather than the knee. Even if it’s only a skinned knee, a scrape there can be a season-long nuisance. The slide should happen on the back of the leg / lower butt.
DC KEYS
- Slide then Coach – After sliding, practice the body language of telling a teammate to “Get Down!!” Then, help your teammate to his feet.
- Hands in the Air – Avoid hand injuries: scrapes, jammed fingers, broken wrists. This is why you see MLB baserunners holding batting gloves in their hands. Or sometimes running the bases with wrist guards.
- 2 Lines? – If numbers are high, or the entire team is doing this drill… form 2 lines.

EXECUTION KEYS
- GET AIR
- LEAN BACK
- FIGURE 4 - TUCK FOOT, HANDS UP
DC KEYS
- SLIDE THEN COACH
- HANDS IN THE AIR
- TWO LINES
EQUIPMENT LIST
 Sliding Mat1
 Throw Down Bases1
 Cones2